How to choose mold temperature: values by material and setting the temperature control unit
Mold temperature sets surface quality, shrinkage, warpage and cycle time at once. Starting values by material, water versus oil temperature control units, the inlet–outlet temperature difference and the most common mistakes on the shop floor.
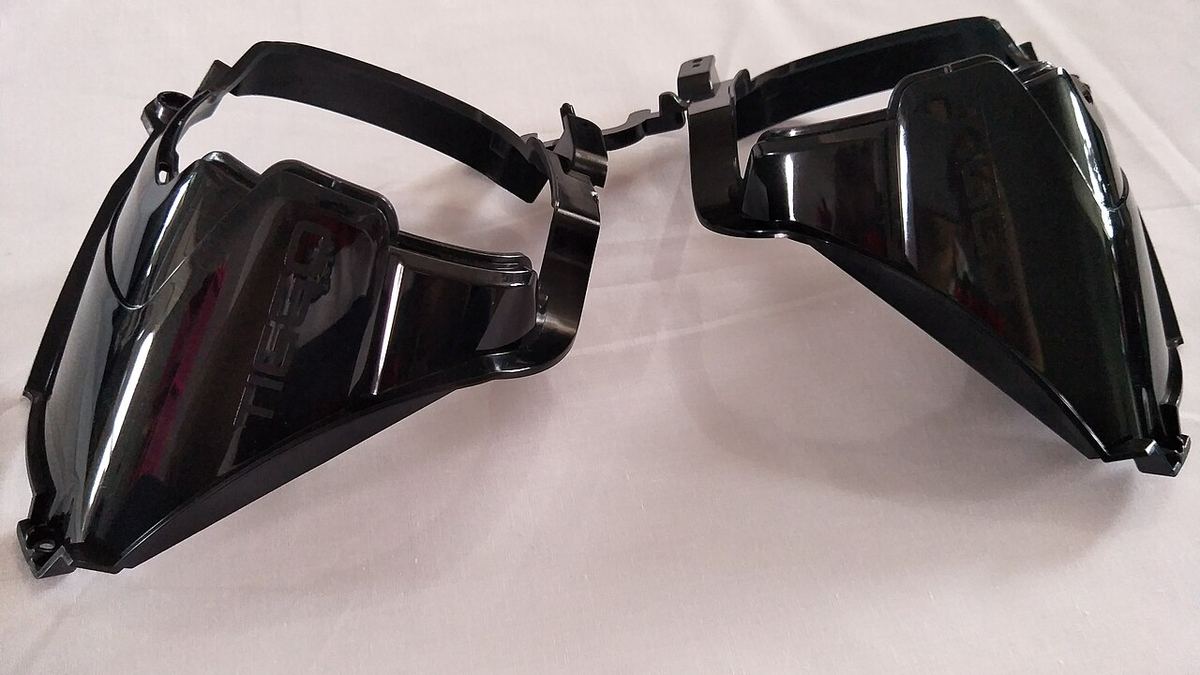
Mold temperature is often taken as "whatever the temperature control unit says". Yet it is one of the few settings that determines the part's surface, dimensions, warpage and cycle time all at once. A badly chosen mold temperature then gets "compensated" with holding pressure or cycle time, and the problem grows.
What does mold temperature change?
- Surface: In a hot mold the melt replicates the surface better; gloss increases, flow lines and weld lines become weaker.
- Shrinkage and dimensions: With semi-crystalline materials (PP, PA, POM, PBT) a cold mold cuts crystallization short. The part leaves the mold in tolerance but keeps shrinking over the following days as crystallization continues (post-mold shrinkage). With amorphous materials (ABS, PC, PS, PMMA) the effect is mostly on internal stress and the surface. For the difference, see amorphous vs semi-crystalline polymers.
- Warpage: A temperature difference between the two mold halves, or between two areas of a part, means different shrinkage and warpage; see causes of warpage.
- Cycle: The hotter the mold, the longer the cooling. But a few seconds won with a cold mold can be paid back later in dimensional problems or scrap.
Starting values by material
The ranges below are common starting values; the data sheet of the resin you use is the reference for the exact value:
- PP, PE: 20–60 °C
- PS, GPPS: 20–60 °C
- ABS: 50–80 °C
- PMMA: 50–80 °C
- PC: 80–110 °C
- PA6, PA66: 60–90 °C (higher for surface quality with glass fiber)
- POM: 80–100 °C
- PBT: 60–90 °C
- PPS: 130–150 °C
With glass-filled materials a low mold temperature brings fibers to the surface and gives a matte, rough finish. For semi-crystalline parts with critical dimensions, the upper end of the range usually gives more stable dimensions.
The unit's display is not the mold surface
What you read on the unit is usually the temperature of the water leaving or returning to it. The mold surface can differ from it by a few degrees, and by more with long hoses and weak flow. After setting the unit and letting the mold stabilize (a few dozen shots), measure the surface temperature with a contact thermometer on both halves and at several points, and record it.
Water or oil?
- Unpressurized water: Up to about 90 °C. The best heat transfer medium.
- Pressurized water: Up to roughly 140–160 °C depending on the unit; carries heat much better than oil for jobs that need a hot mold, such as PC, POM and PBT.
- Oil: For higher temperatures (such as PPS and PEEK). Heat transfer is clearly lower than with water, so holding the same mold at the same temperature is harder; flow rate and hose size become even more important.
To calculate the heating and cooling load, use the oil cooling and mold cooling demand calculators.
Inlet–outlet difference and flow rate
The difference between the inlet and outlet temperature of a circuit is the most practical measure of whether that circuit gets enough flow. For precision parts the aim is to keep it below 2–3 °C. If the difference is large:
- The hose may be smaller than the channel; quick couplings can create restrictions.
- Too many circuits may be connected in series; the water heats up towards the end of each circuit.
- There may be scale in the channel; flow drops over time.
Turbulent flow in the channel (Reynolds number above about 4,000) clearly increases heat transfer; see cooling water flow rate and Reynolds number.
Common mistakes on the shop floor
- Starting production before the mold is warm: The first shots come out of tolerance and with different gloss. Separate parts until the mold has stabilized.
- Cooling the mold to shorten the cycle: Comes back as post-mold shrinkage with semi-crystalline materials, and as internal stress and later cracking with amorphous ones.
- Connecting both halves in series to one unit: The fixed and moving halves heat differently; a frequent cause of warpage.
- Not recording the settings: The next run of the same mold starts with "why is it different this time?" You can store settings and measured surface temperatures per mold in the mold log.
To see mold temperature, cooling time and cycle together with the part and material, try the process analysis page.
Is something missing or wrong in this article? .