Rib and boss design: basic ratios for parts that fill, eject and do not sink
Ribs and screw bosses make a part stiff, but the wrong proportions bring sink marks, short shots and ejector marks. Starting rules for thickness, height, draft, root radius and spacing.
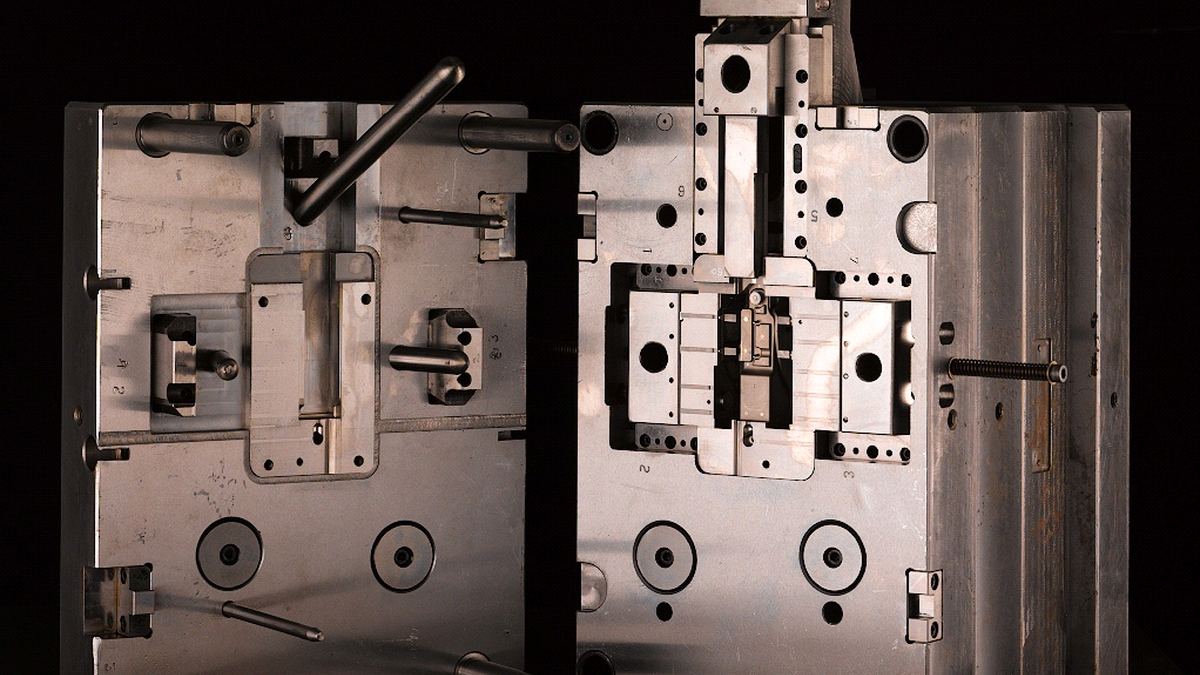
The easiest way to make a part stiffer is to increase the wall thickness, but a thick wall means longer cooling, more material and sink marks. The right approach is to keep the nominal wall thin and get the stiffness from ribs and bosses. If these features are drawn with the wrong proportions, however, the problem only moves: sink behind the rib, a short shot at its tip, an ejector mark at its base.
The values below are common starting ratios in the industry. The exact value depends on the material and the cosmetic requirement; the material supplier's design guide always takes priority.
Rib thickness: about half the nominal wall
Material accumulates where the rib meets the nominal wall. This "thick junction" is the last area to cool and leaves a sink mark on the opposite surface.
- Parts with a visible surface: rib thickness 40–60% of the nominal wall thickness (t).
- Load-bearing parts where appearance does not matter: up to 60–75%, knowingly accepting the risk of sink.
- With semi-crystalline materials (PP, PA, POM) shrinkage is higher, so staying near the lower limit is safer.
As a rule: adding more ribs instead of making them thicker reduces both sink and cooling time.
Height, draft and root radius
- Height: at most about 3 × t. A taller rib is hard to fill and grips the mold, causing ejector marks. If more stiffness is needed, two short ribs are better than one tall rib.
- Draft: 0.5–1° per side. Draft makes the rib thinner towards the tip; on a very tall rib the tip can become too thin to fill. Check this.
- Root radius: 0.25–0.5 × t. A sharp corner without a radius concentrates stress and starts cracks; a very large radius thickens the root and brings the sink back.
- Spacing: at least 2–3 × t between ribs. Closer ribs leave thin steel blades in the mold that cannot be cooled.
Rib intersections and direction
Where two ribs cross, the material is thicker than at the root of a single rib. Coring out the intersection (a small pin in the centre) or offsetting the ribs into a staggered joint instead of a "T" thins the junction.
Place ribs in the flow direction where possible. A rib across the flow splits the melt front, fills late at its tip and can trap gas. If you see burns or short shots at rib tips, a vent or an ejector pin that lets the gas out is needed there.
Boss design
The boss is the feature most likely to cause sink, because it is often thick and sits in the middle of the nominal wall.
- Outside diameter: about 2–2.5 times the screw or insert diameter. A thinner wall bursts when the screw is driven; a thicker wall sinks.
- Boss wall thickness: 50–60% of the nominal wall; never thicker than the nominal wall.
- Hole diameter: for self-tapping screws it depends on the material and screw type. Use the screw maker's table for plastics, not the one for metals.
- Base: instead of setting the boss straight onto the nominal wall, core out the base slightly or tie the boss to a side wall with gussets. Gusset thickness follows the rib rule.
- Height: a tall, free-standing boss means a long core pin that does not cool. Connecting the boss to a nearby wall helps both filling and cooling.
Boss cores are among the hottest spots in the mold. Using a bubbler or a high-conductivity pin in long cores clearly improves cycle time and warpage. See Types of cooling channels
Short checklist before you draw
- Is the nominal wall as uniform as possible across the part? Are the transitions gradual?
- Is rib thickness about half the nominal wall and rib height below 3 × t?
- Does every rib and boss have draft and a root radius?
- Are there thick junctions at intersections, and have they been cored out?
- Are the rib and boss tips close to a vent or an ejector pin?
- Is the boss wall thinner than the nominal wall, and is the boss tied to a wall?
If the mold already exists and you see sink marks, first check how much the process can correct: the article Sink marks and voids and the defect diagnosis wizard help you narrow the causes down in order.
Is something missing or wrong in this article? .